- Learn from the Living Library
Recipe for Agar Bioplastics
GENERAL INFORMATION
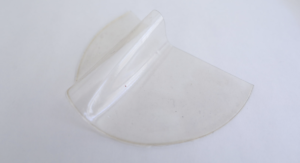
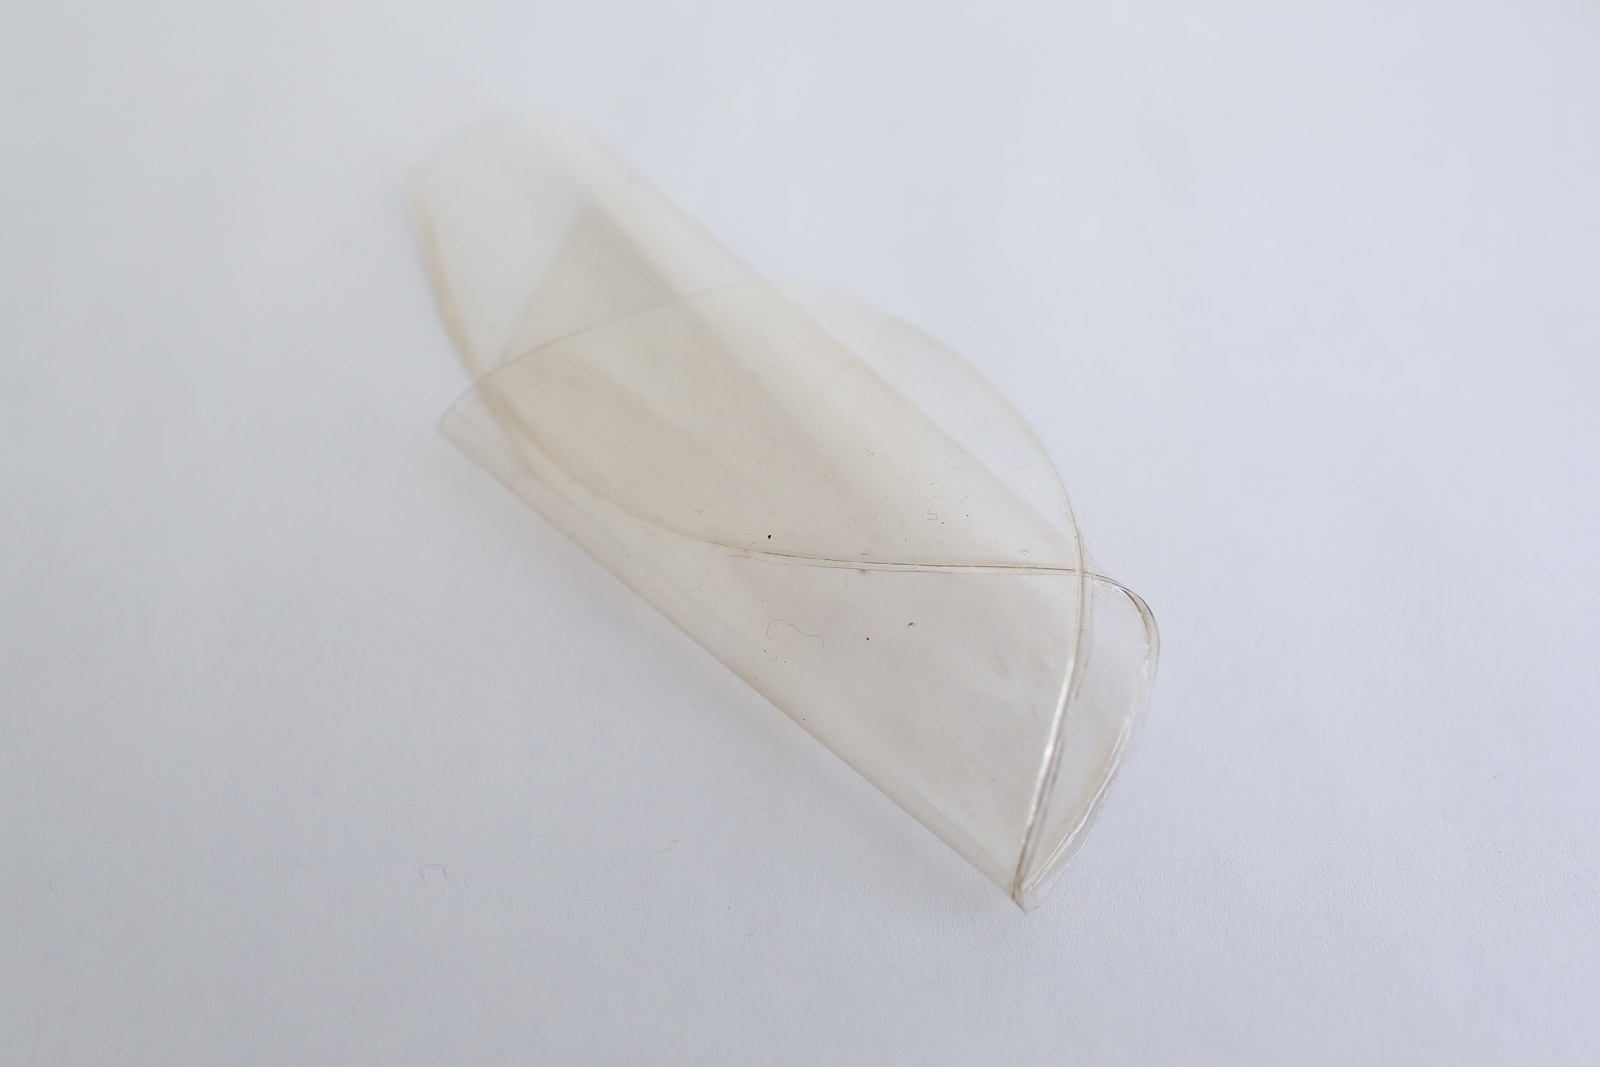
Agar (also called agar-agar) is a polymer of agarose (a kind of sugar). It is a substance obtained from red algae. Agar has been used as a gelling and thickening agent in desserts throughout Asia and also in microbiology to obtain a solid medium. Agar can also be used as a vegan substitute for gelatin (made from animals). Agar bioplastic is made by mixing water, glycerine and agar powder. Together they form a foil-like plastic substitute that is flexible, but not elastic.
RECIPE
INGREDIENTS FOR 500 mL OF BASIC AGAR BIOPLASTIC FOIL
- Agar agar 10g
- the polymer to make the structure
- Glycerine 30g
- The plasticizer to make it flexible
- Water 500 mL
- The solvent to dissolve the materials
- Essential oil 2 drops
- Anti-bacterial to keep it from contaminating
TOOLS
- Pan (non-reactive)
- Cooking plate
- Scale with 1g precision
- Thermometer
- Spoon
- Whisk
- Optional: Textiles, molds or casting surfaces
- Optional: Pigments, food colorants or natural dyes
- Optional: Fillers of your choice (eggshell powder, coffee debris, chalk, fibers, …)
METHOD
- Warm up the water in the pan on the cooking plate to a max of 80ºC (hot, but not boiling).
- Optional: If you want to dye your material in one colour, supplement part of the water with natural dye (if concentrated only a few drops).
- Add the glycerin and a few drops of essential oil to the water.
- The general rule is the more glycerine, the more flexible the material.
- Too much glycerine will make the material too sticky.
- Add the agar to the mixture.
- Add slowly and evenly, while stirring gently will help it dissolve better.
- Whisk gently until the ingredients form a smooth mix.
- Don’t over-whisk it to avoid the creation of bubbles.
- Simmer for about 30 minutes while stirring regularly.
- The mixture should be syrupy rather than watery before casting.
- Optional #1: Add a filler and mix gently until it is evenly distributed throughout the liquid.
- Optional #2: If you are planning to make a batch of different colours, prepare your colours in a small container, to which you will add the liquid when it is ready to cast.
- Pour the mixture into your mold or on your chosen surface.
- Pour slowly to avoid air bubbles
- Let dry for about a week.
- the temperature and humidity will influence the drying time and shrinking
REFERENCES


