- Learn from the Living Library
Recipe for Gelatine Bioplastics
GENERAL INFORMATION
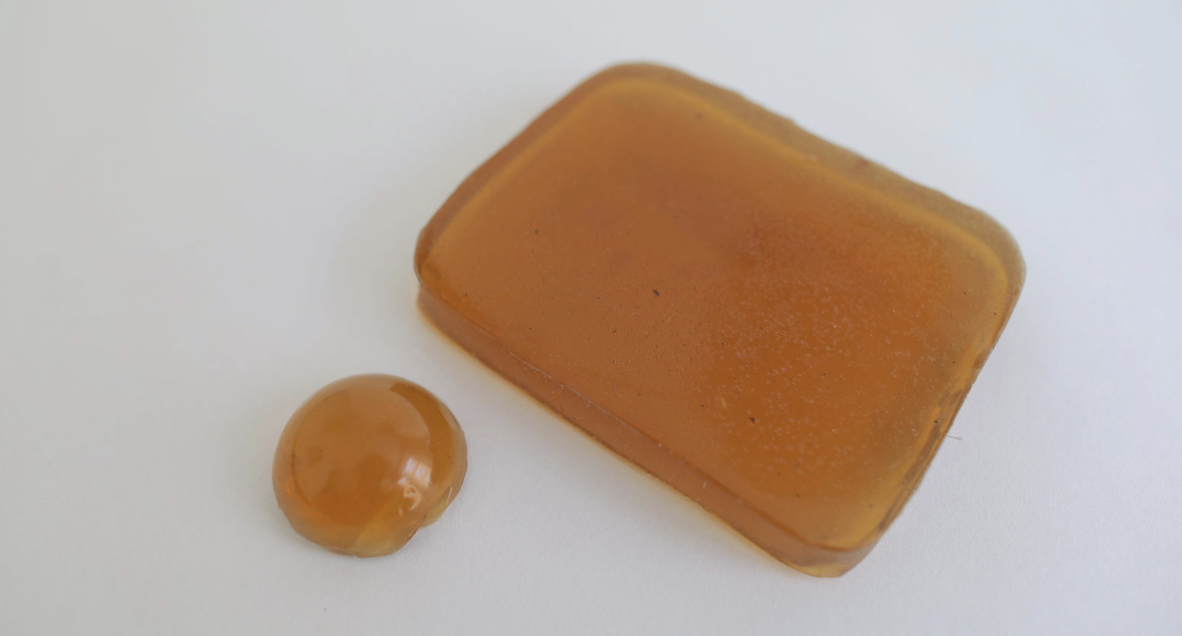
Gelatine is made from collagen present in animal parts and comes in jelly, sheet or powder. It is a waste product from the meat industry, being repurposed for uses outside of the food industry.
RECIPE
INGREDIENTS FOR 500mL OF BASIC GELATINE BASED BIOPLASTICs
- Gelatin 100g
- the polymer to make the structure
- Glycerine 25g
- The plasticizer to make it flexible
- Water 500 mL
- The solvent to dissolve the materials
- Essential oil 4 drops
- Anti-bacterial to keep it from contaminating
- Optional: embroidery hoop, textiles, meshes, moulds or other casting surfaces (surface transfers texture to your bioplastic)
- Optional: Pigments, food colorants or natural dyes
- Optional: Fillers: eggshell powder, coffee debris, chalk, fibers, etc.
- Optional: 1 teaspoon of Dishwasher liquid
TOOLS
- Pan (non-reactive)
- Cooking plate
- Scale (1g precision)
- Thermometer
- Spoon
- Whisk
METHOD
- Mix the gelatine with the cold water in your pot, and stir until dissolved. Warm up the mixture on your stove to a max of 80C.
- Add the Glycerin and four drops of essential oil.
- The general rule is the more glycerine, the more flexible the material, but too much will make it sticky
- Simmer for 15 minutes while stirring regularly, then let the liquid cool for a couple of minutes while stirring, until it gels a little but is still liquid.
- The mixture should be at least honey-like before casting.
- Tip: Remove any froth with a spoon, or absorb it using a coffee filter or kitchen paper.
- Optional: Longer cooking time (up to an hour) allows more water to evaporate and will dramatically reduce the shrinkage of your casted object. You will get a thicker liquid.
- To cast larger volumes and solids with this recipe, evaporate a lot of water, until it’s very very thick.
- Tip: Melting scraps can result in nice castings because they’ve already dissipated a lot of water.
- Optional: Add a filler and mix gently until it is evenly distributed throughout the liquid.
- Optional: Add a tablespoon of dishwasher and whisk until finely foamed to create a biofoam
- Pour the desired mixture into your mould or on your chosen surface.
- Pour slowly to avoid air bubbles
- Tip: Don’t cast hot bioplastic on the acrylic that is thinner than 7mm, it will bend.
- Let the material dry in a ventilated and dry room for a few days.
- De-mould when your plastic feels solid – often after 24-48 hours.
- Tip: regularly turn your piece over until it is dry, so as to avoid mold formation with long drying times.
REFERENCES
Textile Academy by Waag, 2020-2021, Link
Biofoil Gelatin by Loes Bogers, 2020, Link
Agar Wikipedia, 2023, Link
Gelatin Bioplastics Lab Pastoe by Shirley Niemans, 2021, Link
Bioplastic Cookbook by Anastasia Pistofidou, n.b., Link


